Electronic signature backoffice
A new box named "Signatures" has been added to the backoffice in your myrencar car rental management solution.
Notes: Electronic signature is an add-on module. If you are not yet equipped with this feature, request your electronic signature offer here.
General configuration
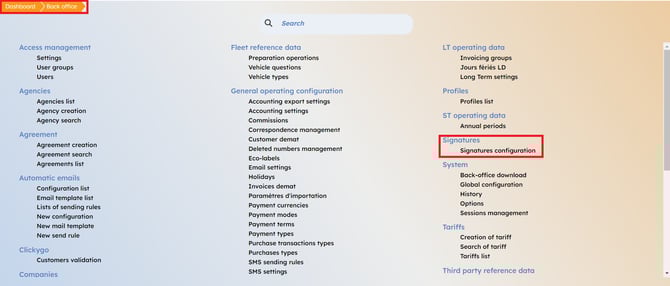
From the "Signatures" menu in the back office, you can access the "Signatures-Configuration" settings.
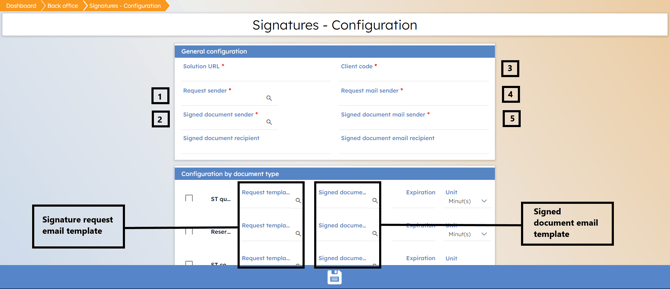
The URL of the solution will already be filled in by default.
- (Signature) Request sender: This field will contain the account ID of the e-mail sender for signature requests.
- Signed document sender: This field will contain the account ID of the e-mail sender for signed document e-mails.
- Client code: This field will contain the name of your company. For example, if your company's name is SUNNYLOC, this field will be filled in with "SUNNYLOC". This will be filled in by default.
- Request email sender: This field will be automatically filled in with the "request sender" email address (1). If an e-mail address does not exist on the user profile in the backoffice, this field will be empty and you will not be able to send signature requests by e-mail, nor modify and save this page. E-mail addresses are mandatory (fields marked with an asterisk are required).
- Signed document Email sender: This field will be automatically filled in with the email address of the "sender of signed document" (2). As above (4), e-mail addresses are mandatory, so you won't be able to modify the page if an e-mail address doesn't exist.
Configuration by document type
The "Signatures" module enables you to sign ST quotations, reservations, ST contracts and Miscellaneous Sales quotations. Therefore, you can only configure and use request e-mail templates and signed e-mail templates for these, as shown below :

Important :
If a document type is ticked ![]() , the option to use signatures for specific documents will be available.
, the option to use signatures for specific documents will be available.
On the contrary, if a document type is not ticked ![]() , the option to use signatures for these documents will not be available.
, the option to use signatures for these documents will not be available.
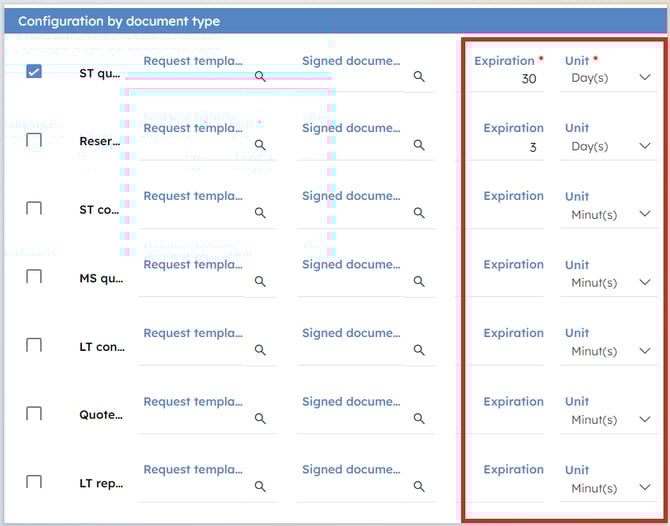
Setting the validity period :
It is possible to define the validity period of links enabling the electronic signature of documents :
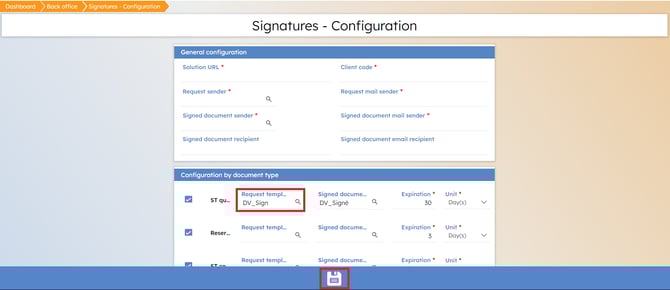
Modifying an existing e-mail template
To modify an existing e-mail template, click on the e-mail "request template" you wish to modify.
For example:

To modify the ST quotation e-mail template, click on "Request template" as shown. A new window will open:
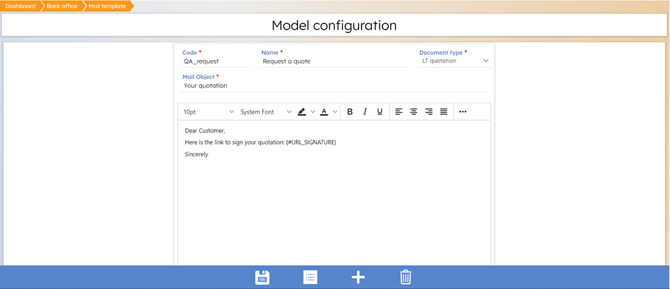
You can modify the content of your e-mail template here.
When finished, click  to save changes.
Clicking on  will take you back to the list of e-mail templates.
Click on  to exit this page and allow you to create a new e-mail template.
Clicking on  will delete the e-mail template you are editing.
Creating an e-mail template
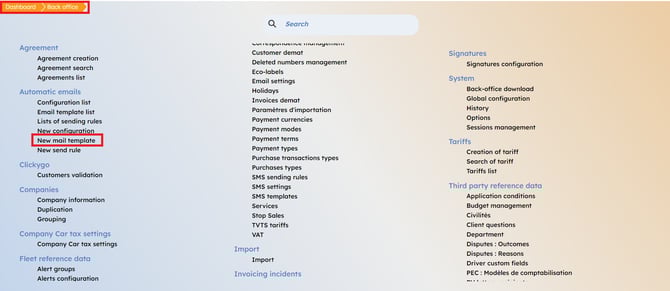
To create a new email template, go to Backoffice and find the "Automatic emails" screen. Select "New mail template":
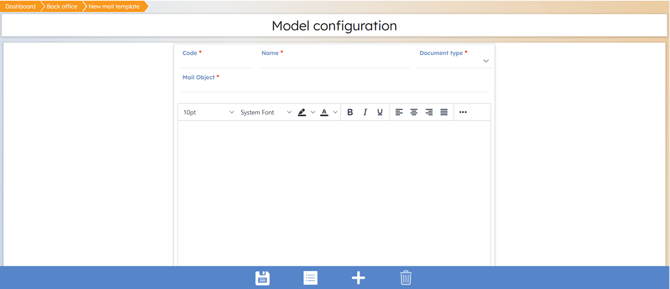
You will be redirected to an e-mail template configuration page. Once finished, click on the Save button.
Assign a different e-mail template
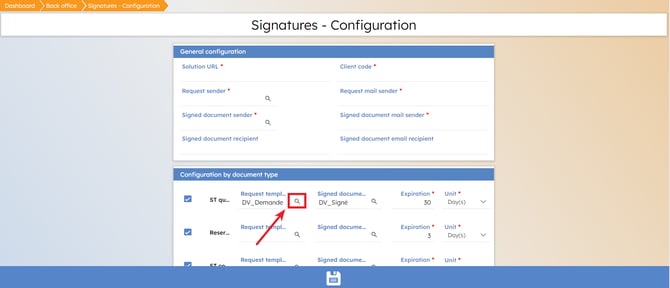
To assign a different email template, go back to the back office, Signature configuration and click on the magnifying glass next to the email template configuration of the document type you wish to modify:
Example:
If you wish to modify the "LT quotations" e-mail template for signature requests, click on the magnifying glass as shown in the screenshot above.
A window will appear, allowing you to press "Search" and display all existing e-mail templates related to this document type. You can also use the search function to look for a specific template.
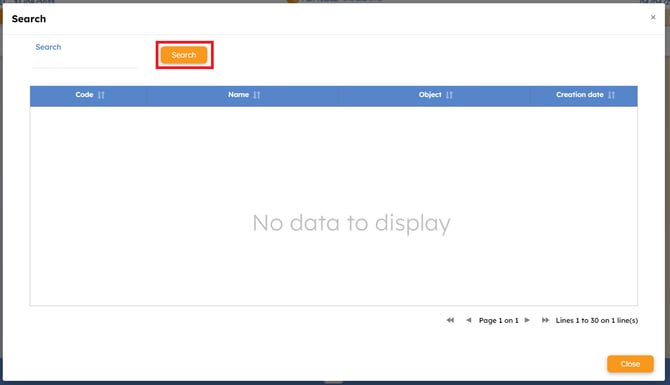
Once you've identified the new e-mail template you'd like to use, click on it.
The newly selected e-mail template will appear under "Application template". You can then save your changes.